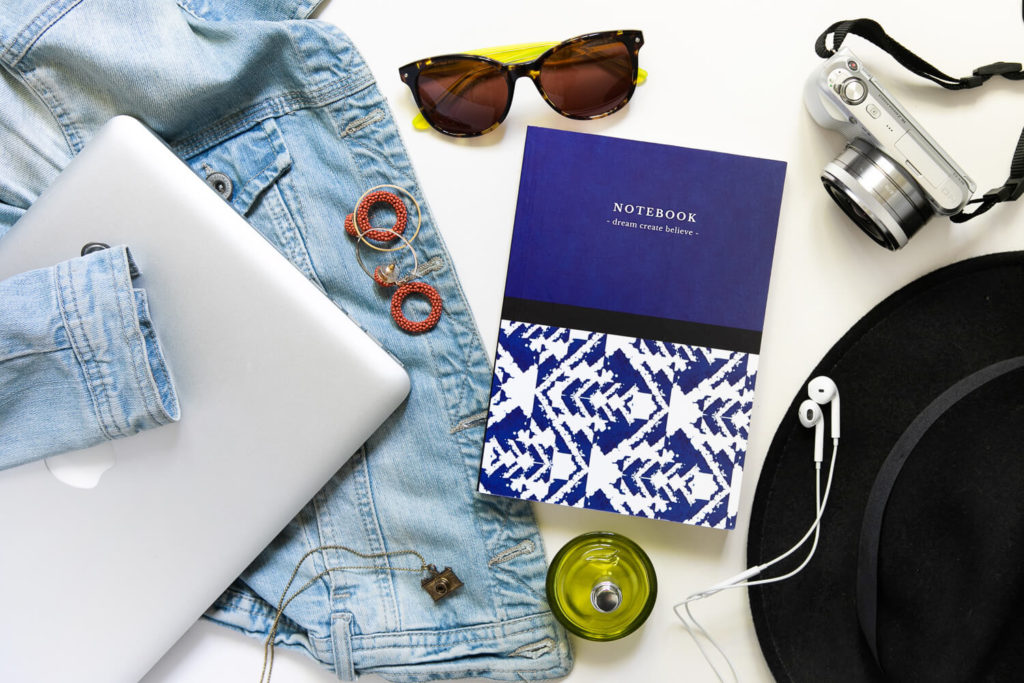
During the Covid-19 pandemic and all of us being locked in I wanted to give some tips on how to photograph your own products at home.
Before you start I want you first to think about where and how you going to use your images as this decides if you need to take your photo in landscape or portrait format. For Facebook I recommend landscape and you can also crop it in to a square for Instagram. If you want to use the the images for Instagram stories use the portrait format. Let’s get started.
Find your best light source
Make the most of the daylight. I usually use the biggest window in our living room and set a table just right next to it or use the floor. Try and do all your photos when the light is the brightest which would be in my case early afternoon. We never get direct sunlight that means the light is bright but soft. If you do get direct sunlight and the light is too strong you can diffuse it with a thin white curtain or just step a bit away from the window. You can also get a 5in1 reflector from Amazon and use the translucent part to soften your light. Though depends on your product and brand you can make use of direct sun light and harsh shadows as an artistic effect in your images, you could even create some shadows with plants.
Extra Tip:
Turn off all artificial light as it will give you a colour cast in your pictures and it will be make your life harder trying to edit it out.
Choose your backdrop
Experiment with the angles
Use a reflector
Invest in a tripod and shoot in manual mode
Do you want to get serious about photographing your own products? Then a tripod is the next step. This allows you to slow down your shutter speed in low light and don’t have to worry about holding still. Just choose a “Pro-Photo” setting on your phone and have a play around with aperture and shutter speed.
If you own a camera and a tripod already I recommend to learn how to photograph in manual mode as it will improve your product photography greatly.
Here are just a few tips: Keep your ISO (Film/Sensor sensitivity to light) as low as possible which gives you the best image quality. Find the right aperture (opening controls how much light enters the lens) for your product. Wider aperture means shallow depth of field and more light; narrow aperture let’s less light through the opening but increase the depth of field. And at last adjust your shutter speed to get the best exposure.
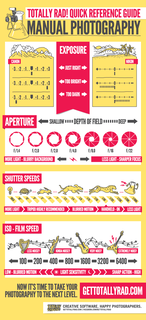
check out the manual cheat sheet by thecustomizewindows.com
Style with props
The Salvaged Woodshop repurposes and resurrects furniture and wood by giving it a face lift
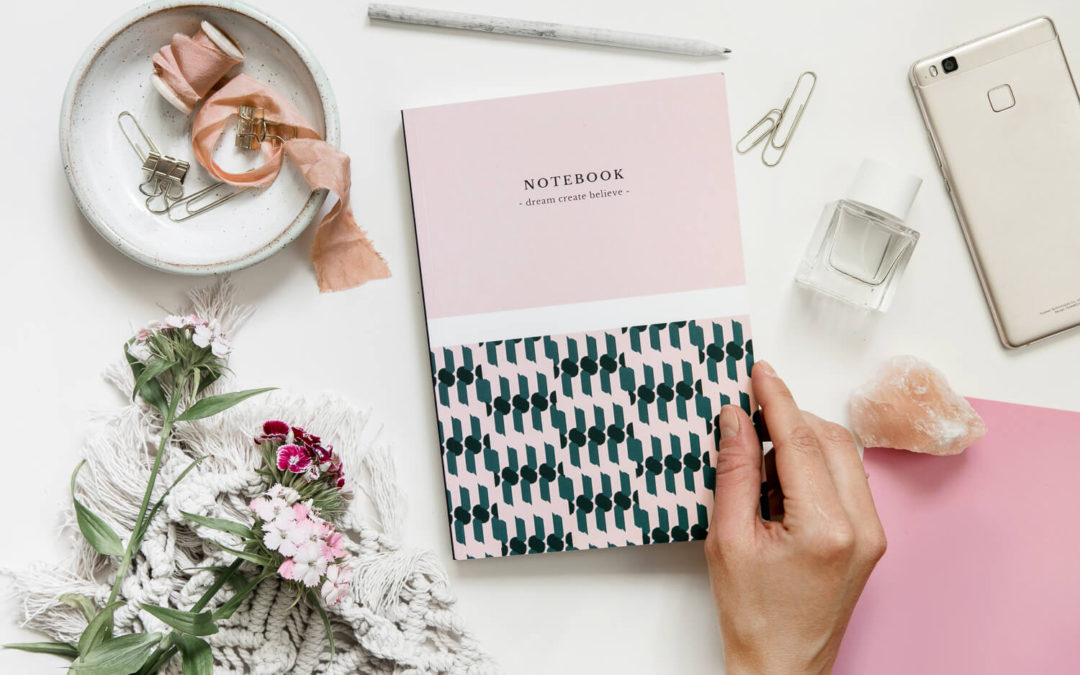
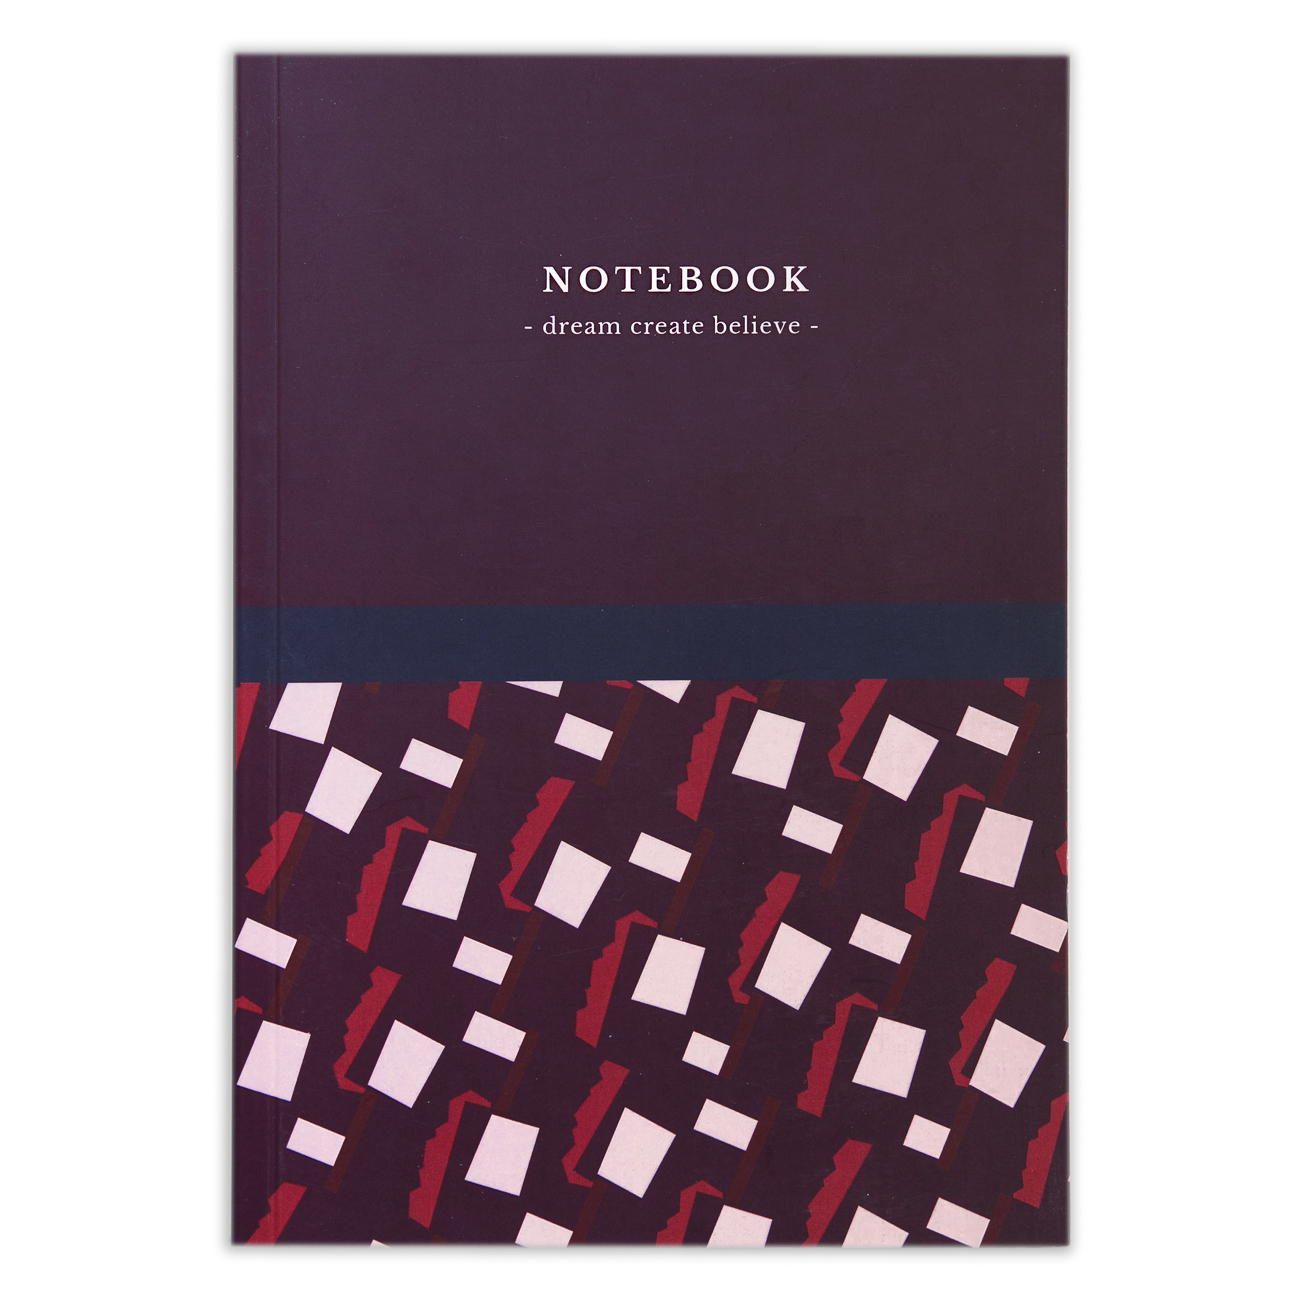
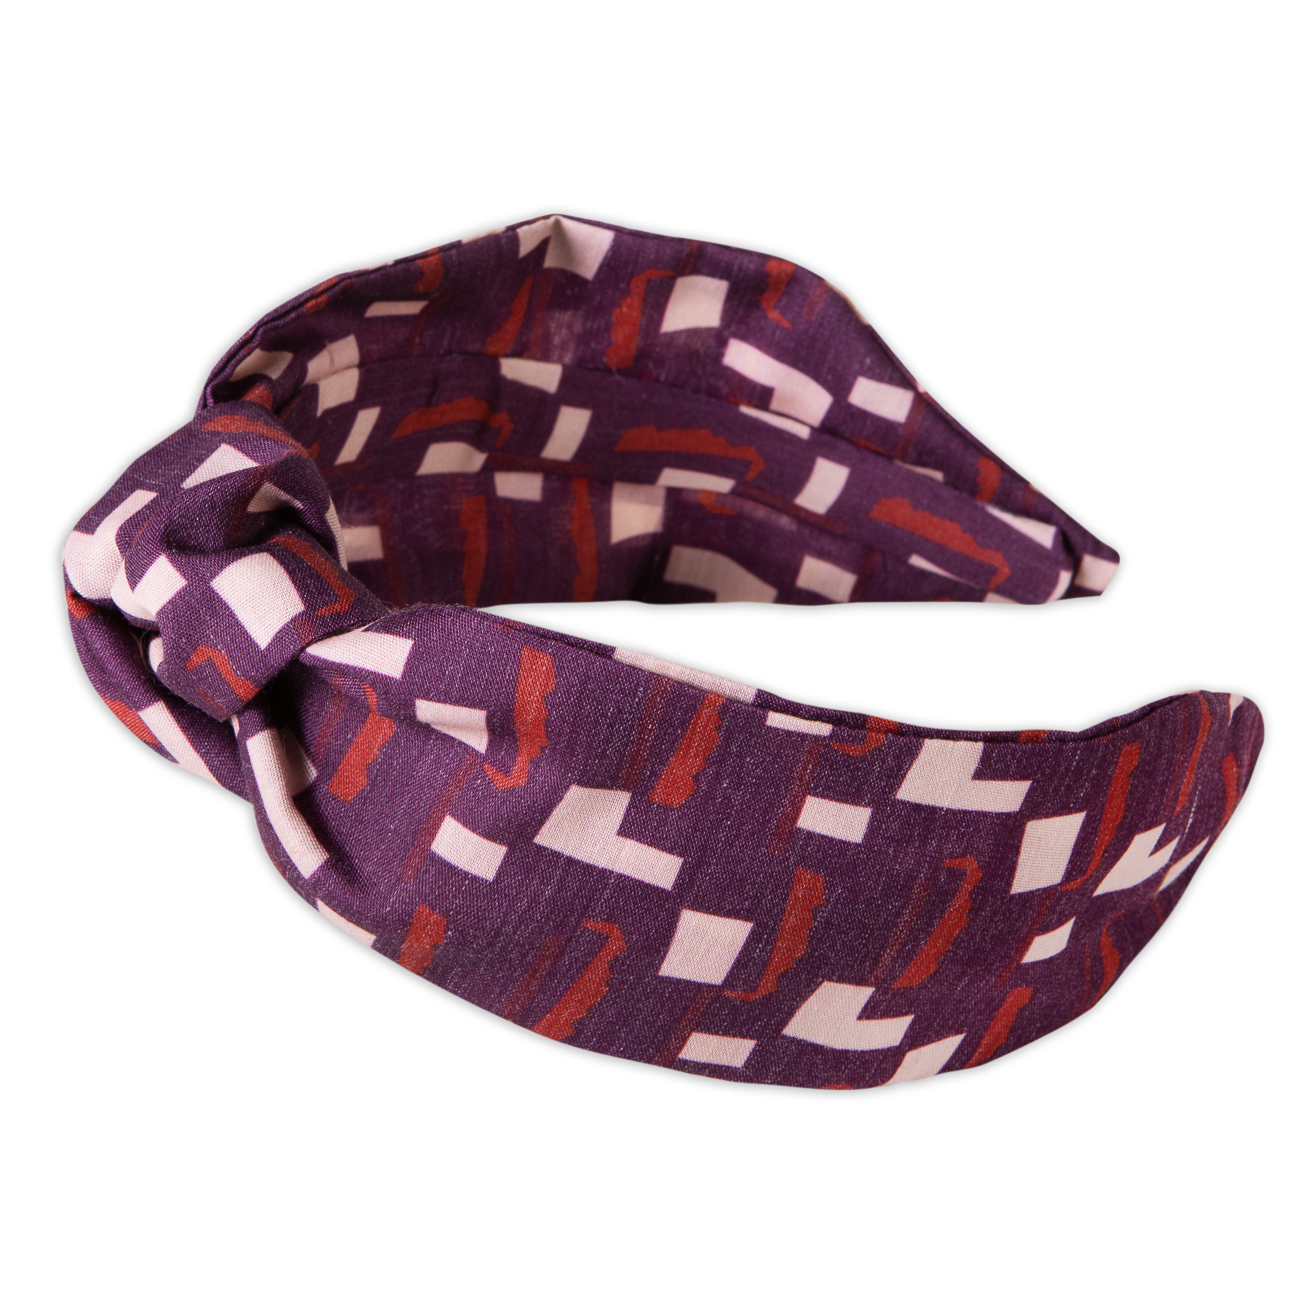
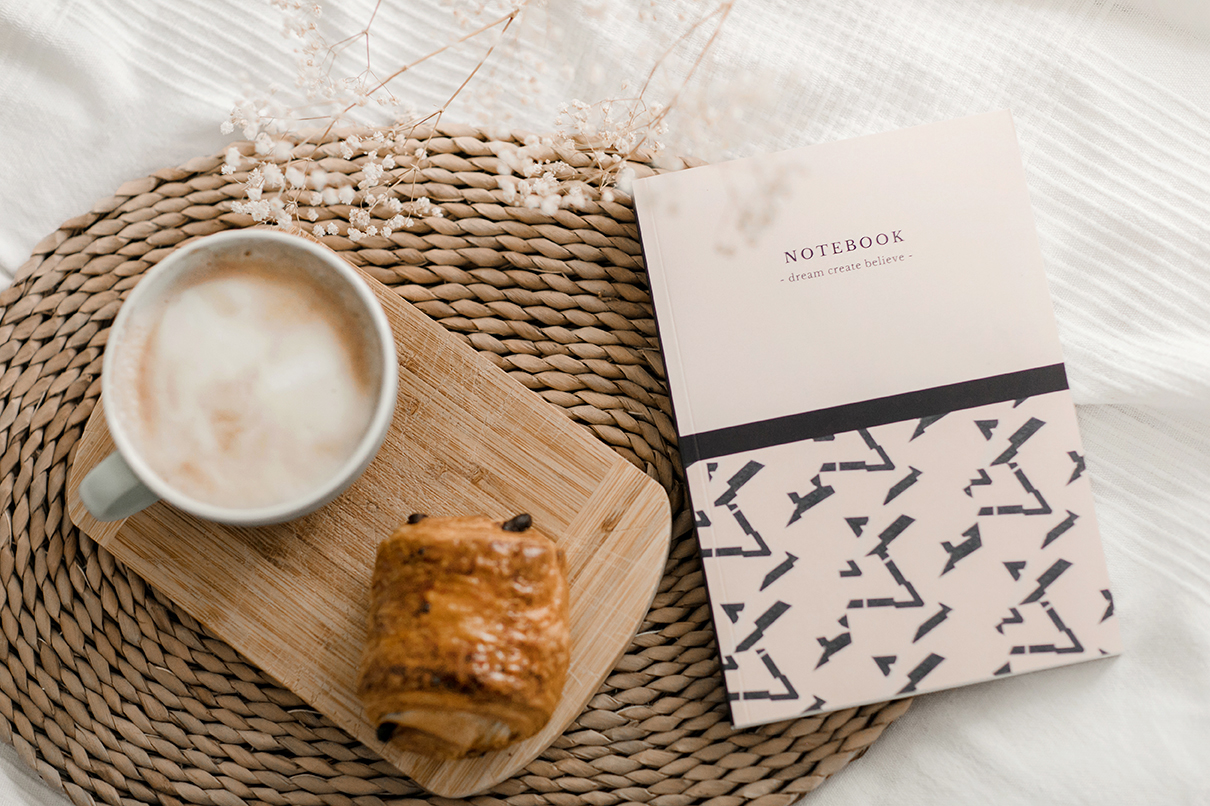
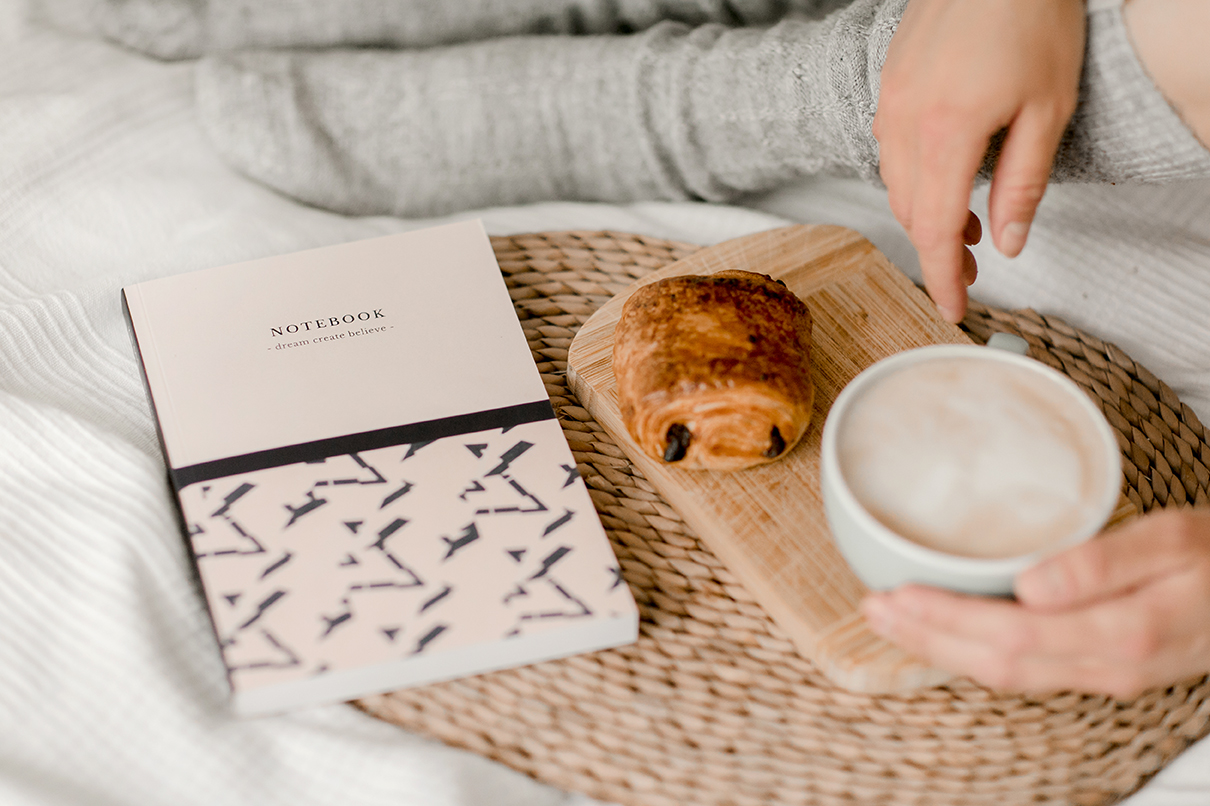
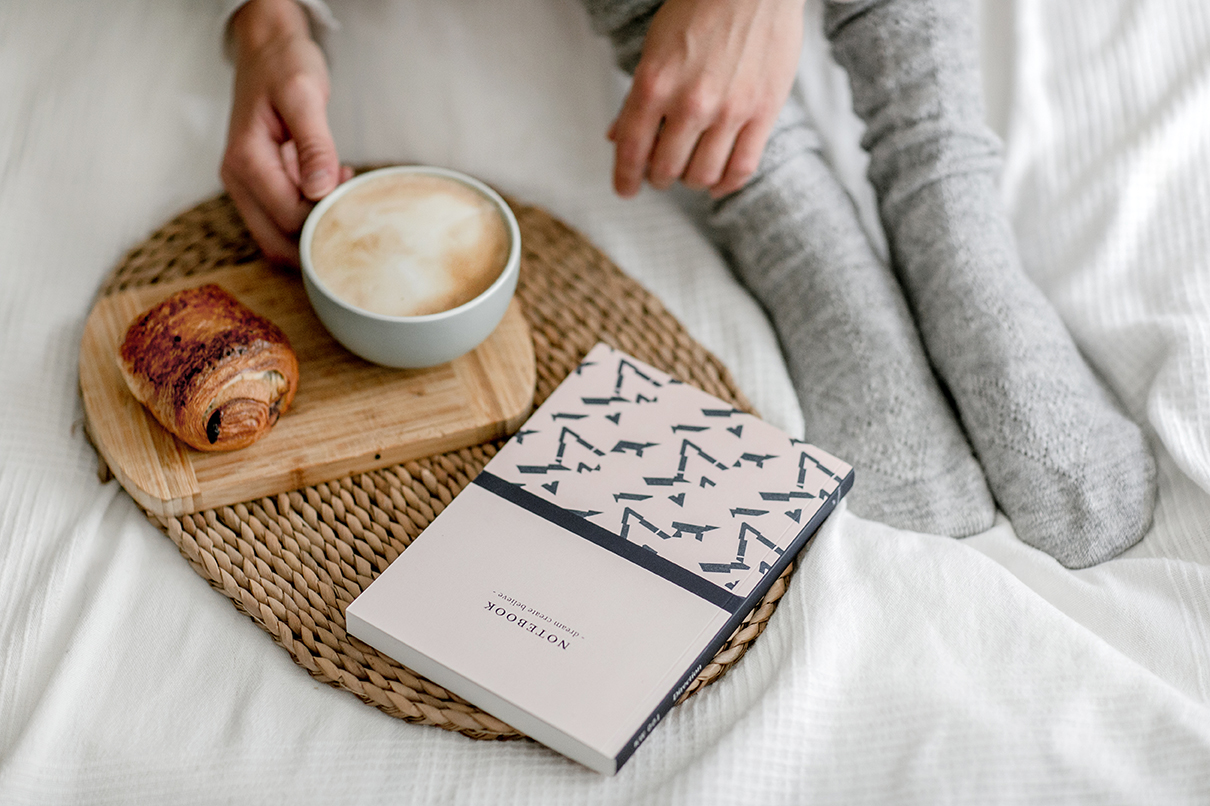
Flat lays for Kate Whyley a local designer. Scarfs, headbands and notebooks. This notebook is called New York.
Shoot more than you need
Use an Editing App
Editing an image makes all the difference. There are lots of free editing apps for your phone you can try and experiment with but these are the most popular ones; VSCO, Snapseed and my favourite Lightroom.
When you have your shot you are happy with import it in your editing app of choice. I usually give my images a light and airy edit and this is how I achieve it: First I brighten up the shadows, then the whole image, depends on the photo you might have to reduce the highlights so they don’t blow out. Then I increase the contrast and the saturation a bit to make the image pop. You have to be careful with certain colours though. When we take photos indoors most of the time the pictures can have a yellow cast. Phones and cameras have trouble capturing the exact colour (especially red) so you need to get as close as possible to the original colour in your editing process. In Lightroom I can reduce and change each colour individually. Don’t be afraid to experiment you can always go back or start from the beginning.
My blog on how to use Lightroom might be of interest for you.
You might also like
Personal Brand Photography for a Garden Designer
I can't remember when I last sat down and put a blog post together. I've been meaning to share these personal brand photos of Dian in a blog for a long time now. She has put an incredible amount of thought and preparation into this, which you can see in the content we...
LOCATION IDEAS FOR BUSINESS PHOTOSHOOT
Ah yes locations. This is the first question I get asked during a discovery call. Locations are such an important part of a business photoshoot and can be super tricky. The easiest one is your own space of course. Firstly it reflects your style and personality already...
